
As Amazon Associates, we earn from qualifying purchases. This means we may receive a small commission at no extra cost to you if you click through and make a purchase.
When filament grinding, recurring nozzle clogs, or erratic under-extrusion interrupt your prints, replacing the feeder hardware is often the fastest way to restore dependable operation. The Wefuit AD5X Extruder V1 is designed specifically as a factory-style replacement to solve these feeding headaches on the Flashforge AD5X 3D printer. Before purchasing an ad5x extruder v1 replacement, you must confirm which wiring version your machine uses. This assembly is engineered strictly for printers built with a flexible ribbon cable connection, meaning it will not interface with the separate multi-wire terminal harness found on newer revisions.
Choosing the correct hardware configuration spares you the frustration of incompatible connectors or complicated wiring splices. In this detailed review, we examine the mechanical tolerances, feeding reliability, and vibration control of this flashforge ad5x extruder replacement during high-speed moves. We also evaluate the key hardware differences between V1 and V2 platforms, explain how the assembly aligns with your stock hotend and cutter, and reference findings from our wider Flashforge Adventurer 5X analysis so you can decide if this drop-in replacement matches your maintenance needs.
What You Get With the Wefuit AD5X Extruder V1
Wefuit AD5X Extruder V1


Photographs published on the Amazon listing.
The package delivers a complete, pre-assembled feeding mechanism ready to drop into the original toolhead carriage without custom brackets or modified fasteners.
- 1 x Wefuit AD5X filament feeding assembly (V1 configuration)
- Pre-aligned internal dual drive gears designed for standard 1.75 mm filament
- Dedicated flexible ribbon cable connection port for V1 toolhead boards
- Precision-machined inlet and guide channels matching the stock AD5X nozzle entry
- Integrated alignment slot engineered specifically for the Flashforge AD5X filament cutter
- Reinforced exterior housing built to minimize vibration during high-speed carriage movements
Key Specifications
Specification
Detail
- Brand
- Wefuit
- Manufacturer Part Number
- AD5X-JS4649001
- Compatible 3D Printer
- Flashforge AD5X
- Hardware Iteration
- V1 (flexible ribbon cable model)
- Component Included
- Filament Feeding Assembly (1 item)
- Integrated Mating Parts
- AD5X nozzle and Flashforge AD5X filament cutter
- Listing Color Label
- Ad5x Extruder Assembly
- Key Features Listed
- Smooth & Jam-Free Filament Feeding, Precision Fit, Reinforced Structure, Easy to Install & Durable
Copied from the Amazon listing. These figures were not measured here.
Ribbon Cable Wiring and the Version Dilemma
The most critical step when sourcing an AD5X feeder replacement is checking your printer’s toolhead wiring. Flashforge distributed two distinct wiring layouts across the manufacturing run of the AD5X: the V1 and the V2. The Wefuit assembly reviewed here is exclusively built for the V1 standard, which relies on a flat, flexible ribbon cable that locks into a slim socket on the carriage board. If your machine features a black flat cable terminated with individual white plastic plugs, you have a V2 system, and this V1 assembly will not plug into your toolhead board.
Evaluating the ad5x extruder v1 vs v2 shows that while both units perform the same mechanical feed tasks, their electrical interfaces are fundamentally incompatible. Attempting to adapt a ribbon cable interface to a terminal plug setup introduces unnecessary failure points and risks damaging your carriage electronics. Inspecting your original connection board takes only a few minutes: open the printhead cowl and observe whether the main wiring connects via a broad, paper-thin ribbon clamp or multiple multi-pin clip terminals.
For machines equipped with the ribbon standard, the installation process remains purely plug-and-play. You gently release the ribbon socket latch, disconnect the old assembly, seat the new Wefuit unit into the carriage alignment pins, and clamp the ribbon securely back down. Readers seeking a broader perspective on how these connection standards evolved can examine our detailed breakdown of the Flashforge AD5X extruder assembly to understand how different revisions manage signal routing.
Feeding Reliability and Jam Prevention
An extruder assembly must apply steady, uniform traction to the filament without gouging or deforming the plastic strand. When drive gears lose grip or wander out of alignment, the printer suffers from skipped steps, under-extruded perimeter walls, or complete print stoppage. The flashforge ad5x filament feeding assembly focuses on providing a stable and uniform material flow that prevents drive teeth from grinding through PLA, PETG, or ABS during lengthy retraction cycles.
Feed jams often happen when there is loose clearance between the drive gears and the hotend inlet tube, allowing softened filament to buckle sideways under push pressure. The Wefuit assembly utilizes a precision-machined internal guide channel that seats flush against the hotend entrance. This tight, gap-free fit keeps the filament path strictly constrained, eliminating the dead zones where material could otherwise mushroom or bend during rapid retractions.
For users who regularly deal with unexplained motor clicking, replacing worn internal gears with a fresh feeding module resolves mechanical play that nozzle cleanings alone cannot fix. Over hundreds of hours of printing, gear teeth can wear down or collect compacted filament dust, reducing their grip strength. Swapping in a fresh drive core restores correct feed tension, delivering the smooth extrusion consistency documented in our Flashforge Adventurer 5M testing.
Structural Rigidity for High Speed Printing
Modern high-speed 3D printers place tremendous mechanical stress on the toolhead assembly. When a printer rapidly accelerates across sharp corners, loose internal components or a flexible outer casing can vibrate out of true, resulting in inconsistent extrusion widths and noticeable surface ringing. The Wefuit AD5X unit features a reinforced housing engineered to minimize internal vibration during demanding, high-intensity print runs.
Maintaining rigidity is particularly crucial because this feeder operates in direct contact with the printer’s cutter mechanism. The listing specifies seamless compatibility with both the AD5X nozzle and the Flashforge AD5X filament cutter. If the feeder housing flexes under load, the cutter blade channel can bind or drift out of alignment, causing partial filament cuts during color swaps or material unloads. The reinforced frame ensures the cutter remains positioned accurately over the filament inlet.
Using a purpose-built ad5x extruder for high speed printing allows makers to push travel speeds and acceleration profiles without worrying about casing deflection. When the internal gear shafts maintain precise spacing under load, the motor transfers all of its rotational energy directly into pushing filament downward. This consistent dynamic force results in cleaner first layers and uniform external wall finishes on large mechanical prints.
Setup Simplicity and Long Term Maintenance
Replacing an extruder on a proprietary machine can be frustrating if aftermarket parts deviate from factory measurements. Because the Wefuit V1 matches original dimensions, you do not need to drill mounting holes, print adapter brackets, or calibrate motor step ratios in your configuration files. The feeder mounts directly to the factory carriage posts, ensuring that nozzle height, auto-leveling offsets, and cooling duct positions remain unchanged.
Routine maintenance is straightforward thanks to the enclosed internal filament path. While exposed feeder assemblies tend to collect debris, this enclosed structure shields the drive teeth from external dust and stray filament fragments. To keep the unit running smoothly over long intervals, blow compressed air into the filament entry port during routine nozzle swaps to clear out any small flakes left behind by brittle spools.
Choosing a dedicated flashforge ad5x extruder upgrade designed to original specifications prevents common setup headaches like loose tolerances or heat creep around the feeder base. The precision-fit mating surfaces fit securely into the extruder port, preventing gaps that could cause filament leakage or feeding errors. Beginners and experienced operators alike can complete the swap with basic hex tools in under fifteen minutes.
Wefuit AD5X Extruder V1 Pros and Cons
Pros
- Drop-in fit for Flashforge AD5X
- Pre-wired for flexible ribbon cable
- Reinforced housing dampens high-speed vibration
- Seamless fit with stock nozzle and cutter
- Tight tolerances reduce filament grinding
Cons
- Incompatible with V2 terminal cable setups
- Only fits Flashforge AD5X toolheads
Check Wefuit AD5X Extruder V1 on Amazon
Is the Wefuit AD5X Extruder V1 Worth It
If your Flashforge AD5X is currently sidelined by stripped feeder gears, frequent filament grinding, or a damaged ribbon connector, the Wefuit AD5X Extruder V1 is a practical, cost-effective investment. It functions as a direct drop-in replacement that restores factory feeding reliability without forcing you to source individual gear bearings or fabricate custom toolhead brackets. For owners of ribbon-cable-equipped AD5X printers, it offers a hassle-free route to reviving clean extrusion.
Conversely, this product is completely unsuitable for printers utilizing the V2 wiring harness with black flat cables and white pin plugs. Purchasing this unit for a V2 machine will leave you with an unusable connector and unnecessary downtime. It is also unsuitable for users looking for a universal extruder to adapt onto custom Voron, Ender, or Prusa builds, as its physical geometry and cutter housing are tailored exclusively to the AD5X carriage.
For the specific audience it targets—owners of V1 Flashforge AD5X printers facing persistent feeding jams—this assembly delivers stable material delivery, sturdy construction, and straightforward installation. It handles high-speed printing demands reliably and ensures that your original nozzle and cutter assemblies work in complete mechanical harmony.
Other Options to Consider
The Creality Official Ender 3 Extruder is an all-metal gray aluminum drive feeder engineered specifically for the Ender-3 Pro, 3S, 3 V2, 3 Max, and CR-10 series, making it the ideal direct replacement for Creality users who need to eliminate cracked plastic stock Bowden arms.
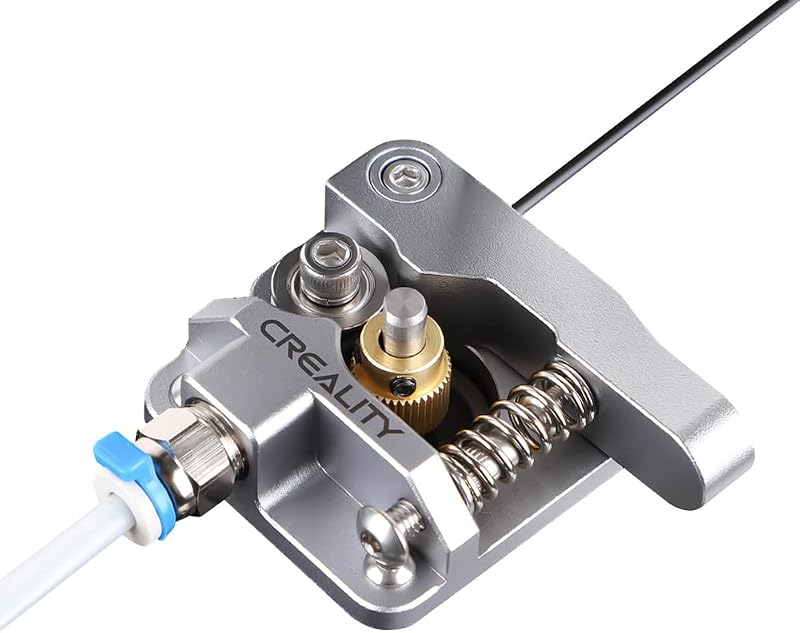
The for Creality Ender 3 Pro aluminum MK8 Bowden extruder features a 40-teeth drive gear designed for Ender 3 Pro, Ender 5, and CR-10 printers, serving makers who want a durable, metal-gear Bowden feeder for Creality machines rather than a direct-drive Flashforge part.
The ELEGOO 3D Printer Extruder is an official fully assembled dual-gear direct drive unit designed specifically for the Neptune 3 Pro, Neptune 3 Plus, and Neptune 3 Max, making it the proper solution for Elegoo owners looking for a complete printhead assembly.

FAQ
How can I verify whether my Flashforge AD5X uses the V1 or V2 extruder?
Open your printhead housing and inspect the connection board attached to the extruder. The V1 model connects using a wide, flexible ribbon cable that slides into a thin clamp socket. The V2 model connects using a black flat cable terminated with individual white plastic plug connectors. Check your original board wiring before ordering to ensure physical compatibility.
Does this assembly include the heating block and nozzle?
No, the product listing specifies that this package includes only the filament feeding assembly. It is engineered to mate directly with your existing stock Flashforge AD5X nozzle, hotend block, and filament cutter rather than replacing the entire thermal printhead assembly.
Do I need to flash custom firmware to use this extruder?
No firmware flashing or motor step re-calibration is required. Because this is an original-specification replacement designed specifically for the Flashforge AD5X, the gear ratio and motor step profile match the printer’s default system configuration out of the box.
Can the Wefuit V1 assembly print flexible filaments like TPU?
The precision-machined, gap-free internal channel provides a constrained filament path between the drive gears and nozzle inlet. This constrained path prevents flexible filaments like TPU from buckling sideways under push pressure, though proper print speeds and tension adjustments must still be maintained.
What should I do if the extruder motor clicks after installation?
Motor clicking generally indicates resistance in the material path rather than a defective feeder. Verify that your hotend is heated to the correct extrusion temperature for your filament, ensure the nozzle is not partially clogged, and confirm that the spool turns freely on its holder without snagging.


